Dry Slowly, Dry Completely
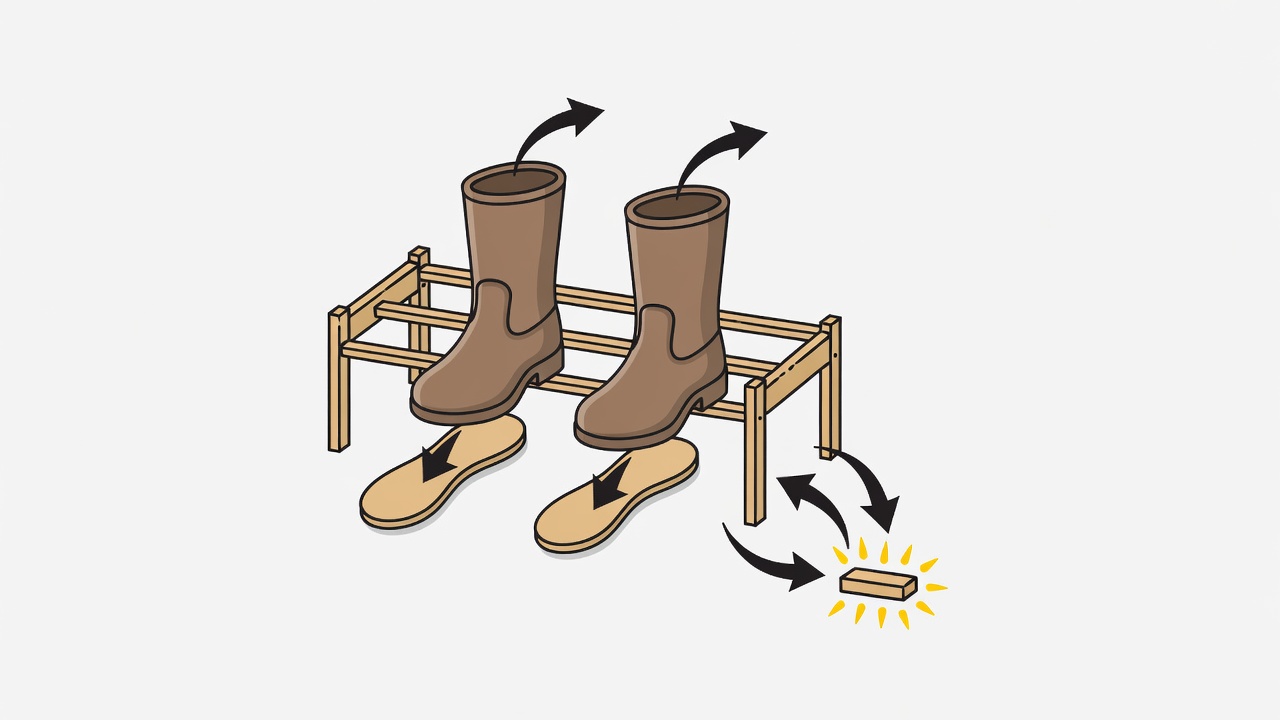
The instinct after a wet day is to put everything next to the fire or the cabin stove. It is also how leather cracks, glues fail and synthetic fabrics melt. Heat makes things dry faster, but airflow at moderate temperature does the job without damage. In DNT cabins and Swedish STF huts you will usually find a drying room or rack for exactly this reason.
Open everything up: remove insoles and liners, unzip pockets, turn gloves inside out where you can. Moisture trapped in a glove liner overnight can freeze solid by morning on a cold trip, so drying hand wear inside your sleeping bag is a long-standing Nordic habit.
 post-trip
Expandable Care Sheets
Always check the care label first — manufacturers know their fabrics and finishes. These are general routines that apply to most gear.
Boots (leather and synthetic)
- Brush off mud and grit while still damp.
- Remove insoles; loosen laces completely.
- Stuff loosely with newspaper, replacing it every few hours.
- Dry at room temperature, away from direct heat.
- Treat leather with a suitable wax or conditioner once dry.
Waterproof shells
- Wash with a technical cleaner, not regular detergent or fabric softener.
- Rinse twice to remove residue.
- If the care label allows, tumble dry on low to help reactivate the water-repellent finish.
- Only reproof with a spray or wash-in product if water still soaks into the face fabric.
Down jackets and sleeping bags
- Use a down-specific wash and a front-loading machine on a gentle cycle.
- Rinse thoroughly.
- Tumble dry on low with clean dryer balls; expect it to take hours.
- Break up clumps by hand during drying and make sure it is fully dry before storing.
- Store loosely, never compressed, between trips.
Batteries and electronics
- Dry devices with ports open before charging.
- Let cold devices warm to room temperature before charging.
- For long storage, many manufacturers suggest keeping lithium-ion batteries partly charged, roughly 40–60%.
- Remove disposable cells from devices stored for months to avoid leakage.
- Check and clean O-rings and port covers; replace if cracked.
Zips and buckles
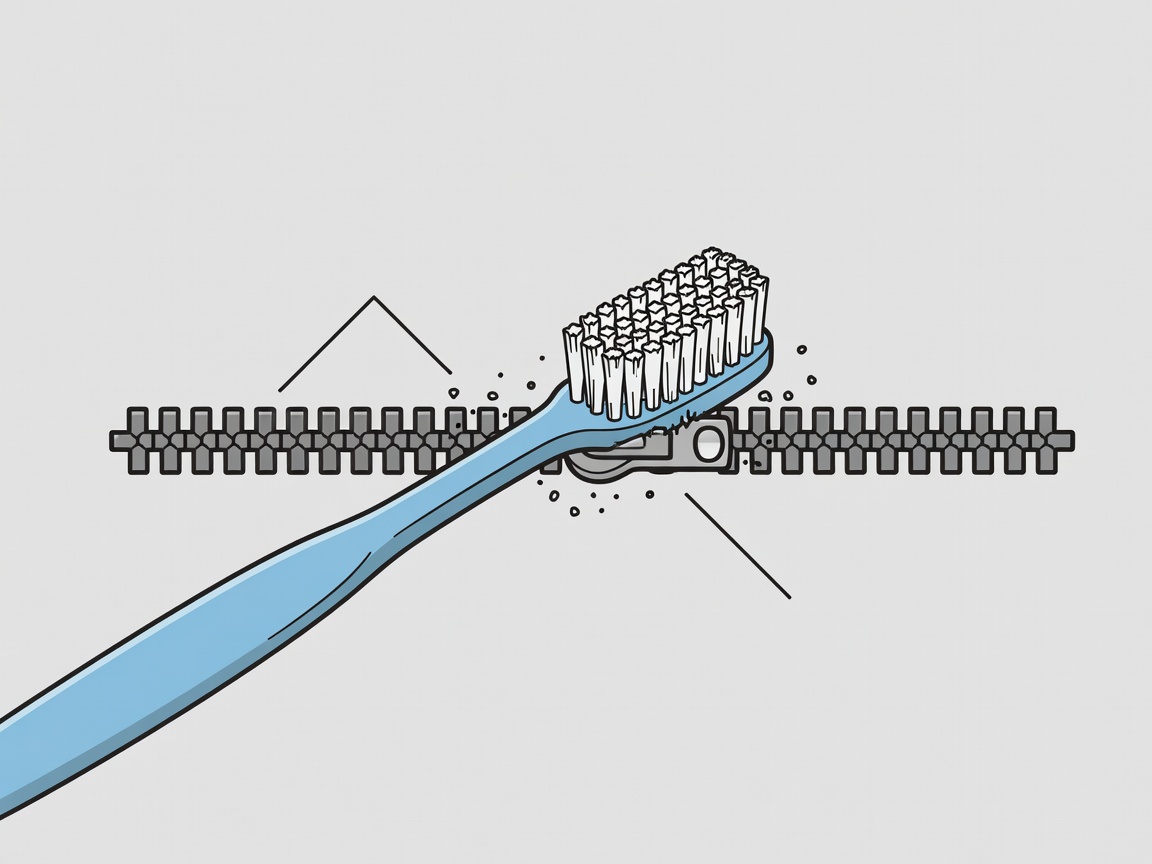
- Brush out grit with an old toothbrush and warm water.
- Use a zip lubricant sparingly on stiff zips.
- Replace cracked plastic buckles — standard sizes are inexpensive.
Small Repairs Before Big Failures
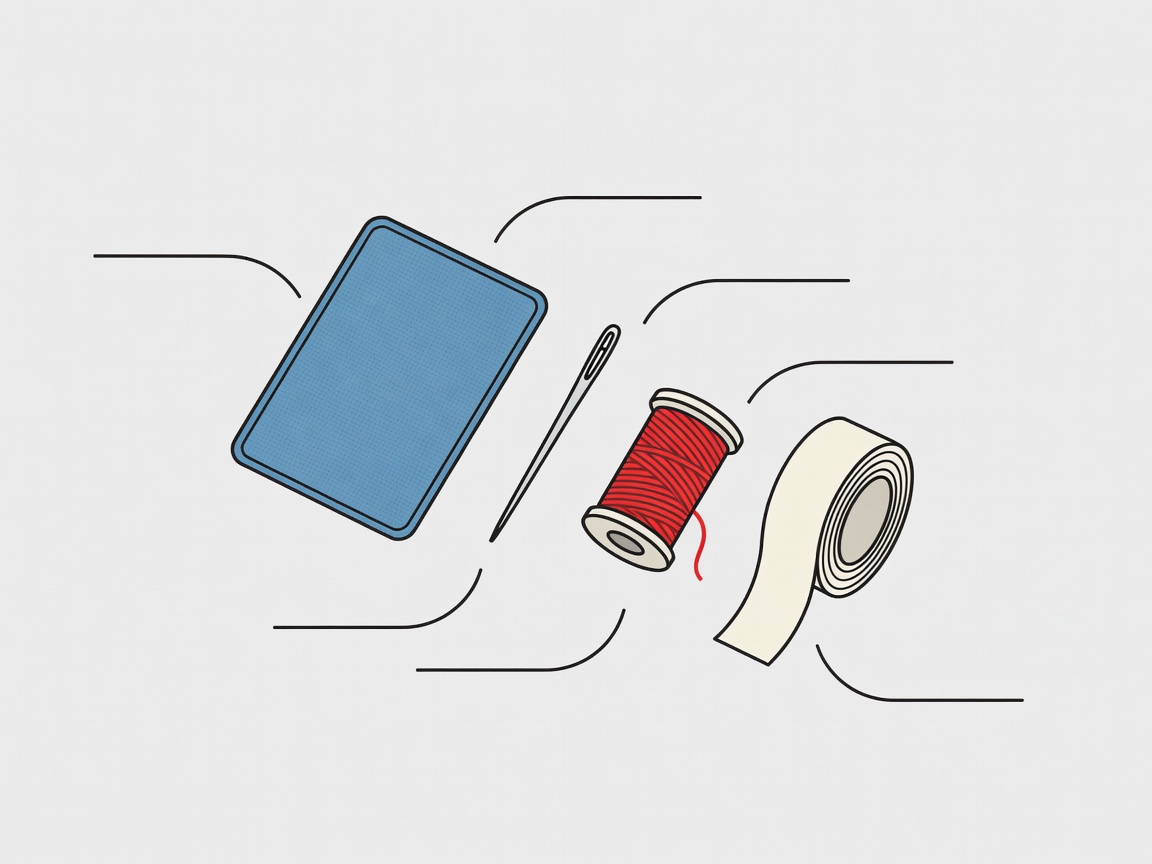
A small tear in a shell becomes a big one after a windy day. Self-adhesive repair patches made for technical fabrics, applied to clean, dry fabric, are quick and surprisingly durable. A needle, strong thread and a short roll of fabric tape wrapped around a trekking pole cover most trail emergencies.
Many outdoor brands now offer repair services, and independent repair workshops exist in most Nordic cities. Zip replacement on a quality jacket typically costs far less than a new one. Repairing also keeps gear out of landfill, which aligns with the long Nordic tradition of mending — think of the wool sweaters handed down through generations in the Faroe Islands and Iceland.
 grit and ice
Clean zips first
Most stuck zips are dirty, not broken. Clean before you consider replacement.
 on the trail
Pocket-size fixes
Patch, tape, needle and spare buckle. Light enough to carry on every trip.
Storing Gear Between Seasons
When spring arrives, clean everything before it goes away — sweat and dirt left in fabrics for months can degrade coatings and cause odour. Store down and synthetic insulation loosely in large cotton or mesh bags, keep boots somewhere cool and dry, and check batteries are at storage charge. A short checklist taped inside your gear cupboard makes the autumn restart much easier.